Friday, June 15, 2012

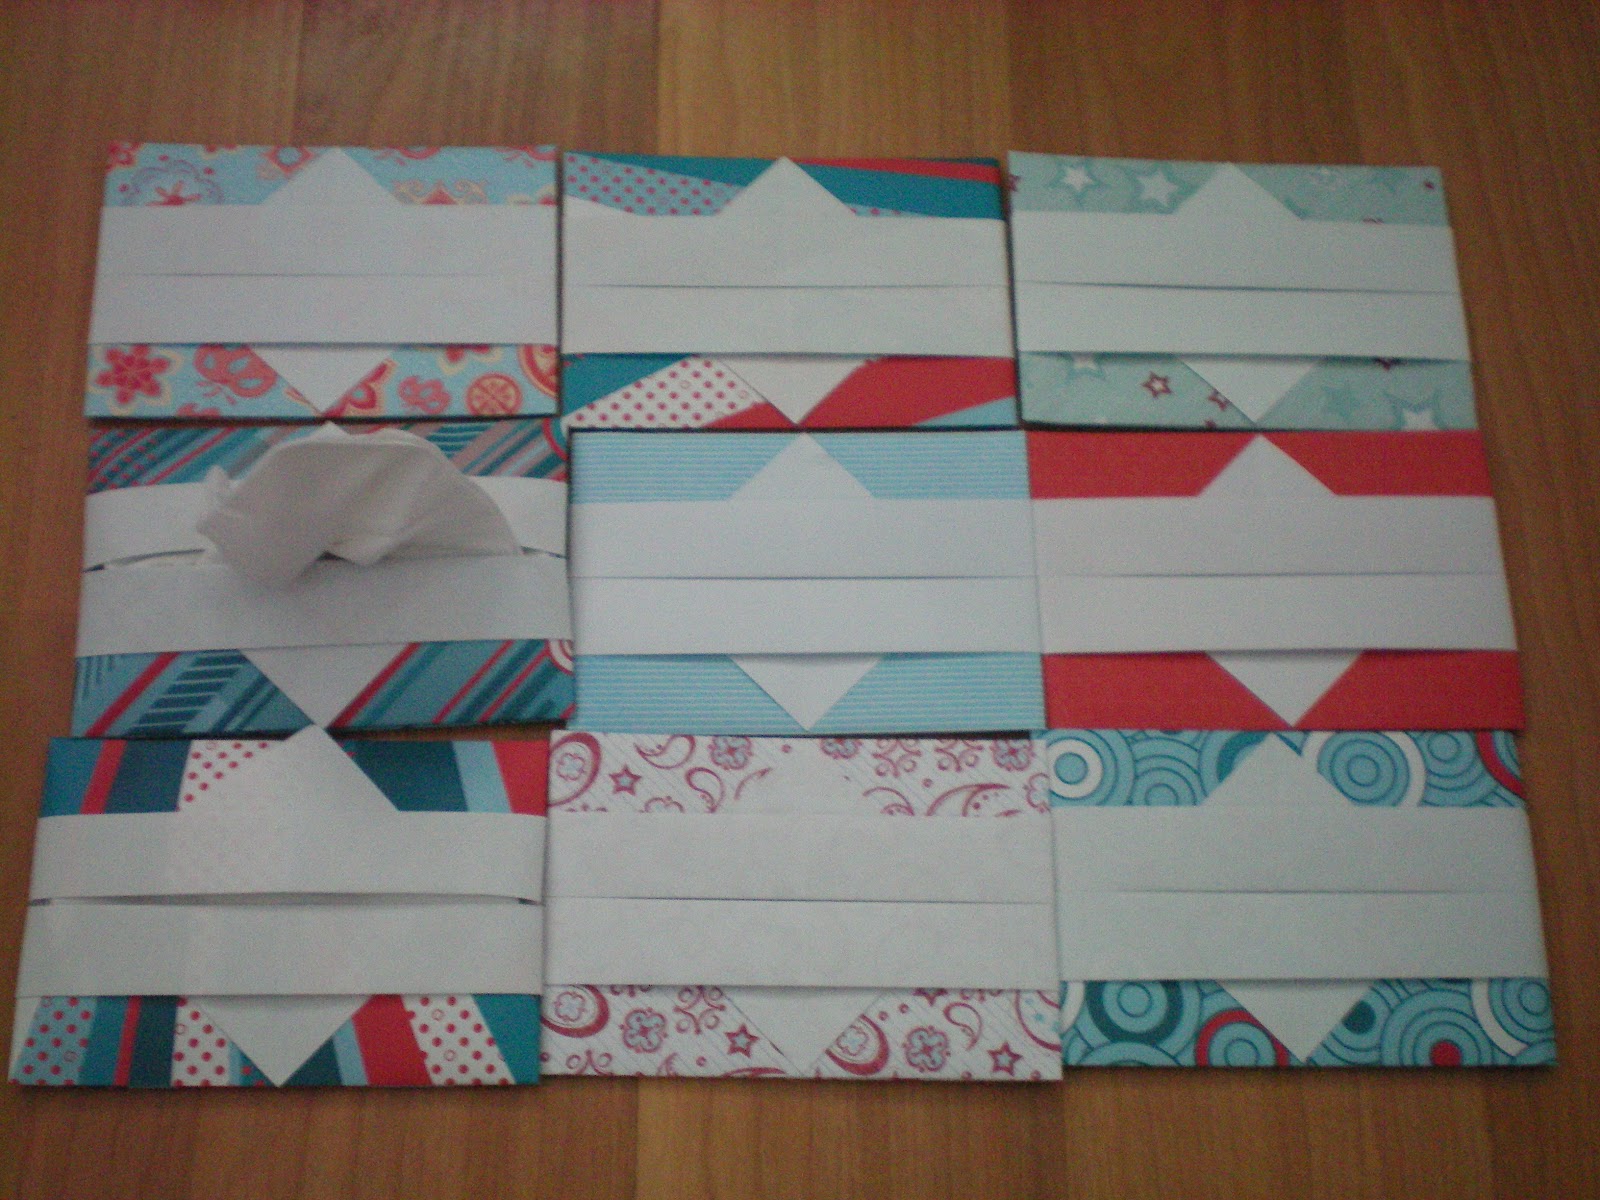
origami tissue holder


this paper tissue holder can hold 2 or 3 tissues.  i use them because i like to go light on the things i carry around with me. i don't use the whole plastic pouch of tissues before it gets destroyed.  so i feel like i'm wasting them.  it also has a higher cute factor then the plastic pouch of tissues.


start with a piece of 9x9 craft paper.  i cut mine down from a 12x12 piece.


fold it in half making a triangle


open it up


fold it in half again and open it up. y'all should have an X folded in the paper.


fold the corners into the center


now open it all back up


fold a corner to the line made in the last step.


open it up


fold the opposite corner to the same fold line


fold the corner back to the edge


fold the center edge in.  take it slow there is a hidden fold line on the colorful part of the paper there. use that as a guide.


now fold the opposite corner the same way


flip it over


fold one side in


if you flip it back over it should look like this


fold the other side in


then tuck one side into the flap of the other


flip it back over, it should look like this


fold it in half along the opening


stuff the tissues in


i like to use a piece 9x9 craft paper.   but we don't always have a piece of craft paper on hand so a standard piece of printer paper will work.  y'all just need it to be a square.

fold one of the long edges over to the other long edge making a triangle shape.


fold the rectangle bit sticking out along the edge of the triangle. then open it up and fold the edge the opposite way to weaken the edge of the rectangle along the side of the triangle.


carefully cut or tear (we don't always have scissors with us) along the edge of the rectangle piece


y'all should have a square piece of paper and a rectangle now.  toss the rectangle or keep it for another project later.  we just want the square right now.

head back to the beginning of this tutorial and follow the steps with the square you made.  the first fold is already done.


it's a little tighter fit to get tissues in then the 9x9 paper. so be careful not to tear the opening.


Thursday, June 14, 2012

cupcake challenge ::: week 12 ~ father's day


sunday is father's day.  i made up some cupcakes in honor of my father and my hubby who both like chocolate. 

my dad has always liked this chocolate cake called crazy cake. it was a popular cake made during the great depression, dust bowl and ww2 because it needs no eggs, milk, or butter.  this is the first cake i remember making on my own when i was a child. 

crazy cake
3 cup flour
2 cup sugar
1 teaspoon salt
2 teaspoon baking soda
1/2 cup cocoa powder
3/4 cup veggie oil
2 tablespoon distilled vinegar
2 teaspoon vanilla
2 cup cold water

sift flour, sugar, salt, soda, and cocoa together into a 9 x 13 inch ungreased cake pan. make three wells. fill one with oil, one with vinegar, and one with vanilla and water and stir with fork.  don't over mix this cake. it can have some lumps in it.

bake at 350 *F for 30 to 40 minutes, or until tooth pick inserted comes out clean.

crazy cupcakes
to make crazy cupcakes i mixed up the cake and scooped batter into cupcake liners filling them 3/4 full and baked for about 22 minutes.

frost with your favorite icing. 

my dad likes whipped topping on his crazy cake......


my hubby likes chocolate frosting...


dutch chocolate butter cream frosting
1/2 cup butter at room temperature
1 lb powdered sugar
1/2 cup dutch chocolate powder
2 teaspoons vanilla
about 3 tablespoons buttermilk

cream butter, half of the powdered sugar, and chocolate powder till light and fluffy.  add vanilla, 1 tablespoons milk and a third of the powdered sugar. alternate milk and sugar. 


Thursday, June 7, 2012

cupcake challenge ::: week 11 ~ flag day


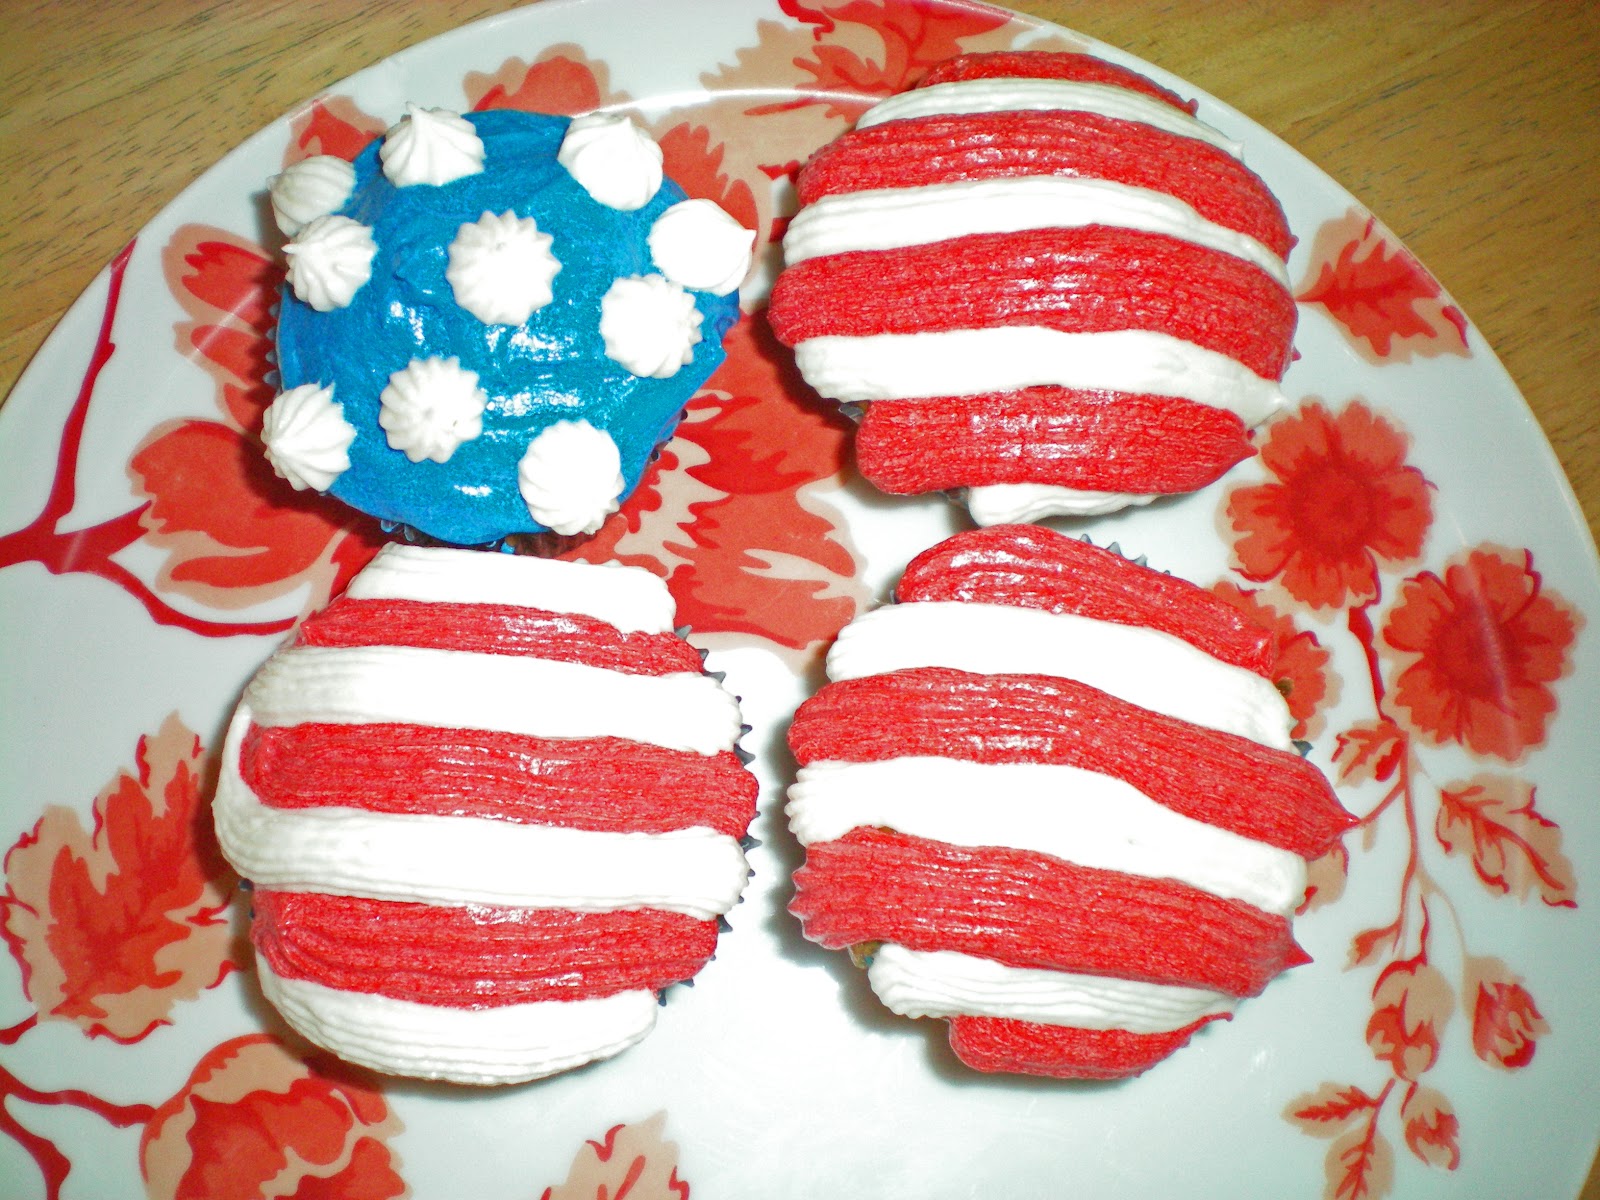
sunday starts national flag week and the 14th is flag day.  to start off the celebration a little early we made flag themed cupcakes.


i used a french vanilla boxed cupcake mix and added red, white, and blue sprinkles.


vanilla butter cream frosting
1 cup butter at room temperature
2 lb powdered sugar
2 tablespoons vanilla
about 6 tablespoons milk
red and blue food dye

cream butter and half of the powdered sugar till light and fluffy.  add vanilla, 2 tablespoons milk and a third of the powdered sugar. alternate milk and sugar.  be careful with the milk if y'all are adding food dye.  it needs to be a little thicker at this point.  separate the frosting into 3 bowls and add red to one bowl and blue to another. 


it is better to make the frosting ahead of time and let it sit for a bit.  the red looks pink at first and will darken up sitting a couple hours in the fridge.  remember to take it out, let it come to almost room temperature, and mix it up again before frosting the cupcakes.


we tried a a dye spray on a few cupcakes to see how it would work.  my girlies said it looks better in the picture then on the real cupcakes. then my oldest said 'maybe the picture is air brushed' hahaha an airbrushed spray dye picture..... teen humor :)


i love how we ended up with a few faces and union jacks in the batch.


Tuesday, June 5, 2012

crocheting more ~ suncachers


i've really been enjoying making suncatchers; all the pretty colors and patterns.  i'm working out of my stash and have plenty of yarn to work with.  but i'll have to head out to shop soon and pick up some metal rings.  the suncatchers i've been working on were made with 5 inch rings and  no. 10 cotton thread.


i'm also having a little fun catching the sun or light in them.


yesterday my oldest caught a double rainbow. y'all have to look closely to see it though.  look above the noticeable rainbow and the tree on the far right and there it is.  both rainbows were brighter when we first saw them.  but they started to fade away quickly.


last night i emailed my hubby and asked what colors i should use for my next suncatcher and he replied rainbow.  i guess from the double rainbow my son caught and my hubby's response it is time to hook me a rainbow. 

i hope all y'all have a good day!